Can a Servo Feeder Run a Welded Coil Joint?
- Share
- publisher
- David Park - Senior Stamping Engineer, FANTY Machinery
- Issue Time
- Oct 22,2026
Summary
A weld seam passes under the feed rolls once a coil and is the event most likely to mark a roll face or break a pilot. This sets out the sequence that works: grind flush, trigger the release on feed count rather than a timer, hold 40-50% speed, watch the loop and the edge guide, and log the joint. It also covers the four joint types the procedure cannot handle.
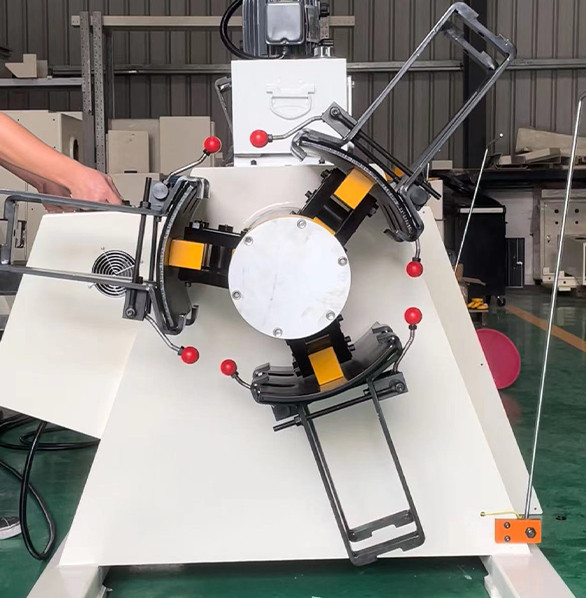
A weld seam passes under the feed rolls once every coil, and it is the single event most likely to mark a roll face or break a pilot. It also saves a full rethread, which is why shops keep doing it.
The sequence below is the one that works on a servo feeder with pneumatic roll release: grind, trigger, slow, watch the loop, log it.
Get the order wrong and the joint arrives at the die with the rolls still closed, which is how a 0.2 mm step becomes a 4,000 USD die repair.
Decide Whether to Weld or Stop the Press
The decision comes before the procedure, and it depends on how long a rethread takes on your line.
On a 600 mm wide, 1.2 mm line, a full rethread with two operators runs 6-10 minutes. A weld takes 8-15 minutes to prepare and adds risk to the die.
On a 1,300 mm wide, 3 mm line, the same rethread takes 20-35 minutes and needs a crane. Welding wins clearly at that size.
The crossover is around 2 mm thickness on wide strip. Below it, stopping is usually cheaper than welding, and the arithmetic is easy to check with a stopwatch.
Count the cost of a marked roll as well. A scored feed roll on a 1,300 mm machine is part of a set that runs 8-14% of machine price.
Width and stroke rate decide most of this, and the feeder range lists both against coil capacity so the comparison starts from real numbers.
Grind the Weld Flush Before the Rolls See It
A butt weld leaves a raised bead on both faces. That bead is what marks the roll, not the weld itself.
Grind both faces flush within 0.05 mm of parent thickness, then blend the ends over 40-60 mm so the roll does not step onto a cliff.
Check with a straight edge and a feeler gauge, not by eye. A 0.15 mm proud bead is invisible and enough to score a chrome roll.
Cool the weld before it enters the line. A weld still at 200 °C softens the roll coating it touches and picks up material.

A lap weld is a different problem. It doubles thickness over its length, and no roll opening short of a full gap change will pass it cleanly.
Trigger the Roll Opening on Position, Not on Time
Most feeders open the rolls on a signal from the controller, and most controllers can trigger on feed count rather than a timer.
Use the count. A timer that is correct at 120 SPM is 40% early at 200 SPM and drops the strip on the way in.
Work out the distance first. Measure from the roll centreline to the first die station, and divide by the feed length to get the number of strokes of warning.
On a 1,200 mm span with a 300 mm feed, that is four strokes. Open the rolls four strokes before the joint reaches them and close two strokes after it leaves.
Two strokes of margin on the closing side matters more than the opening side. Closing late costs a little accuracy; closing early pinches the joint.
If the feeder has no programmable roll release, this procedure does not exist for you. Reduce speed and hand-hold the release instead, and accept the accuracy loss.
Slow the Feed for the Length of the Weld
The joint is stiffer than the parent strip, so it accelerates differently under the same servo profile.
Drop to 40-50% of production speed from the stroke before the joint enters until two strokes after it leaves. That is 80-100 SPM from a 200 SPM setting.
Some controllers support a reduced-speed window keyed to feed count, which is cleaner than an operator watching for the seam.
Do not stop the feed with the joint inside the rolls. A joint parked under load creeps, and the next stroke starts from a position the controller did not command.
Watch the encoder following error on the first joint at a new speed. A jump of more than 0.3 mm against the normal band means the joint is slipping, not feeding.
Hold the Loop and the Edge Guide Through the Joint
Two things go wrong downstream of the rolls while the joint passes, and both are visible before the die sees anything.
The loop collapses or grows because the joint resists bending over the loop arm. A dancer-controlled loop will correct it; a fixed-height loop will not.
The edge guide is the second. A joint that is 1 mm out of line steers the strip into one guide face and holds it there for the rest of the coil.
Check the seam alignment before welding, not after. Two coil ends clamped in a straight edge with a 1 mm step will produce a 1 mm offset that no guide can remove.
Run the joint through once with the die lifted, if the tool allows it. That single pass tells you more than any procedure document.
Listen as well as watch. A joint entering the rolls makes a distinct double tap, and hearing it twice means the rolls closed between passes.
- Align both coil ends against a straight edge before tacking.
- Set the loop arm to dancer control if the line has it.
- Open the guide clearance by 0.2 mm for the joint pass only.
- Watch the strip at the guide exit, not at the weld itself.
Log the Joint, the Stroke and the Coil Number
A weld log takes thirty seconds and answers the question everyone asks after a die crash: was that the joint?
Record the coil numbers on both sides, the stroke count at the seam, the weld type, and who ground it. Four fields, one line.
If a part fails inspection within 200 strokes of a logged joint, you have a suspect without disassembling anything.
Keep the log for the die's life. Pilot damage that appears at stroke 340,000 is easier to explain when the joints are on paper.
| Joint type | What it gives the run | Where it costs you |
|---|---|---|
| Butt weld, ground flush | Passes the rolls at reduced speed | 8-15 min of preparation per joint |
| Lap weld | Fast to make, no alignment jig | Double thickness, marks rolls, cannot pass |
| Stitch weld and tape | No heat, quick on thin stock | Tape residue on the rolls, seam creeps |
| No weld, full rethread | No roll risk at all | 6-35 min of press downtime per coil |
When Welding Beats Stopping the Press
Three conditions make the weld the cheaper choice, and they are all about the cost of the stop.
The first is heavy gauge. Above 2 mm on wide strip, a rethread needs a crane, two people and 25 minutes, and the weld wins on time alone.
The second is a short run. On a 400-piece order, one weld saves a stop that would otherwise be 15% of the total run time.
The third is a die that is expensive to restart. Some progressive tools need 20-30 strokes to settle after a stop, and every one of those strokes is scrap.
The accuracy budget across the whole line is what makes or breaks this decision, and it is set out in the coil line guide library.
Which Joints the Procedure Cannot Handle
The sequence above works on clean, uncoated, 0.8-3.0 mm steel. Four cases sit outside it, and pretending otherwise damages the machine.
Coated material is the first. Welding burns the zinc or paint back 10-20 mm each side, and the bare patch picks up on the rolls and transfers to every part after it.
Foils and thin stock are the second. Below 0.5 mm the heat-affected zone buckles, and the joint arrives at the rolls already wrinkled.
Advanced high-strength steel is the third. A DP780 weld can reach 400 HV and crack under roll pressure, and a cracked weld is a die crash waiting for the next stroke.
The fourth is any feeder without programmable roll release. The procedure depends on opening the rolls on command, and a manual lever cannot keep up at 150 SPM.
A limit worth stating on the numbers above. They come from lines running 200 SPM with a 300 mm feed, and they shift with stroke rate, feed length and the distance from rolls to die.
Test one joint at reduced speed and measure the following error before you run the procedure at production rate. One joint costs ten minutes; a die costs a month.
Does the release need 4 strokes of warning before the rolls?
Four strokes on a 1,200 mm roll-to-die span with a 300 mm feed. Divide the span by the feed length and round up.
Can a servo feeder pass a lap weld on 1.5 mm strip?
No, not without a gap change. A lap weld doubles thickness over 20-30 mm, which is far outside the 0.05-0.1 mm roll gap.
Should a welded joint pass at 200 SPM or 90 SPM?
40-50% of production speed. At 200 SPM that is 80-100 SPM, held from one stroke before entry to two strokes after exit.
What does a 1,300 mm roll set cost to replace?
8-14% of machine price for a full set, or 10,000-17,000 USD on a 1,300 mm line. Regrinding at 0.2 mm per pass is far cheaper if the score is shallow.
Where to go next
A welded joint is one event in the feed error budget. The full breakdown, from servo positioning to pilot release timing, sits in our coil line knowledge base.
The Coil Line Guide Library