How to Prevent Coil Break at the Straightener Entry
- Share
- publisher
- David Park - Senior Stamping Engineer, FANTY Machinery
- Issue Time
- Nov 11,2026
Summary
Most entry breaks are edge damage, a mill weld or a badly stored coil, combined with a setup that leaves no strain margin. This sequence separates the three failure types by their marks, sets the six parameters that control entry strain, and gives a ninety-second coil-face test that catches the marginal coil before loading. It also states the three conditions no setting recovers, and what a break costs before anyone sees it.
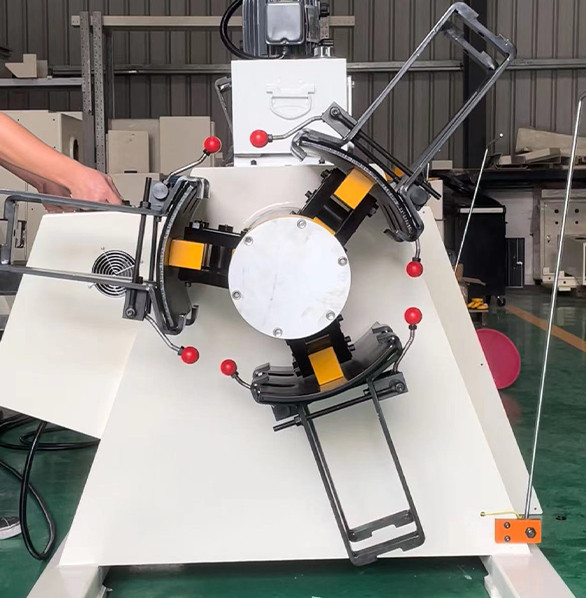
By the time an operator sees a crack at the straightener entry, 340 parts have already been stamped from a strip that was failing. A break starts at the coil edge and runs a metre before it reaches the rolls.
The die is the last thing to find out, and it pays for the discovery.
Most entry breaks are not machine faults. They are edge damage, a mill weld, or a coil that was stored badly, combined with a setup that leaves no strain margin.
This sequence catches the marginal coil before it becomes scrap, and it takes one shift to put on the changeover card.
How to Read a Break Before It Runs Down the Coil
Three different failures get called coil break, and only one of them is a mill defect.
A mill cross break is a transverse line left by coiling tension at the mill. It is visible before the coil is loaded, usually as a faint line across the full width at a constant pitch.
An edge crack starts at a slit burr and runs inward at an angle. It grows with each bend and appears first at the payoff point, where the strip is bent hardest.
A weld seam fails at the joint. The heat-affected zone has lower elongation than the parent strip, and the weld is thicker, so it bends further at the same radius.
Each one leaves a different mark on the strip. Cross breaks are straight and full width. Edge cracks are short and angled. Weld failures are bright and start at the joint line.
Reading which one you have decides whether the fix is a machine setting or a coil rejection. Confusing the two wastes a week.
Six Settings That Decide Whether the Strip Survives
Six settings control the strain the strip sees before it reaches the first roll. Each one has a working range and a reason to leave it.
Payoff angle. The strip should leave the coil tangentially. A payoff that pulls the strip across the coil face adds a twist on top of the bend.
Back tension. Keep it under 10 percent of yield. At 25 MPa on a 600 MPa strip the entry bend is barely affected; at 90 MPa the same bend cracks.
First roll gap. The entry pair should be open by roughly the strip thickness plus 0.2 mm on a curled lead end, then closed after 2 m has passed.
Entry speed. Cold strip cracks at the acceleration a warm coil survives. Ramp over 3 seconds instead of starting at run speed.
Snubber or hold-down pressure. Enough to stop the coil lifting, not enough to press the outer wrap into the layer below.
Coil temperature. A coil stored at 5°C behaves like a different grade. Below 10°C, treat the first coil of the shift as a trial.

Where the Checks Stop Helping
No setting recovers a strip that is already cracked, and three conditions sit outside what the machine can control.
Slit burr above 0.05 mm. A burr that height is a stress raiser at the bend. The strip will crack at the burr regardless of tension, gap or speed.
A weld with no post-weld anneal. The heat-affected zone can lose half its elongation. Passing the weld at reduced speed helps; it does not make the joint equal to the parent strip.
A coil that was dropped or stored on a saddle. The oval set puts a permanent bend in the strip. Straightening removes the shape and leaves the strain history.
In those three cases the honest answer is to cut the coil back past the defect or reject it. A machine that claims to run through them is selling a story.
What a Break Costs Before Anyone Sees It
The scrap value of the failed part is the smallest number in the calculation.
A break that runs 4 m before it is caught consumes 4 m of strip and 340 parts on a 12 mm pitch. On a DP600 coil that is $180 of material and 25 minutes of press time.
Then the die stops with a strip fragment in the working station. If the fragment reached the punch, add a sharpening and a two-day die repair.
Add the restart: re-thread the strip, re-set the feed length, run five trial parts, check the first three against the gauge. Forty minutes on a good day.
Two of these a month is a full shift of lost capacity, which is why the checks below pay for themselves on the first coil.
The Test to Run on a New Coil
One test on the coil face before loading takes ninety seconds and predicts most entry failures.
- Walk the visible outer wrap and look for transverse lines at a constant pitch. That is a mill cross break and the coil should be rejected.
- Run a thumb along both edges for the first metre. A burr you can feel is a burr that will crack.
- Find the weld if the coil has one, mark it with chalk, and note the distance from the outer end so the line can slow for it.
- Check the bore for ovality with a tape at two planes. More than 3 mm out of round is a storage problem, not a machine problem.
Those four checks take less time than the first coil change and catch the coils that will fail in the first ten metres.
Which Materials Break First
Grade matters more than thickness, and the ranking below is the one we see on real lines.
| Material | Where entry breaks appear | What the risk costs |
|---|---|---|
| DP600 and DP780 | At slit burr and weld, within the first 3 m of a cold coil | Low elongation leaves no margin; scrap rate triples on a cold morning |
| HSLA 420 | Edge cracks that angle inward at 20 to 30 degrees | Needs slower ramp and lower back tension, which costs 8 percent of line speed |
| CR4 mild steel | Only at a genuine mill cross break | Rare, but a rejected coil stops the line for a full shift |
| SUS304 | Rare at entry, more often at the straightener exit | Work hardening shows up later in the process, not at the payoff point |
The pattern is elongation, not strength. A 780 MPa grade with 14 percent elongation cracks at strains a 340 MPa grade ignores.
That is why a line that has run CR4 for a decade needs new settings the week a DP600 job arrives, not new rolls.
Thickness plays a smaller part than most operators expect.
Doubling the gauge doubles the outer fibre strain at the same bend radius, which matters, but elongation differences between grades move the threshold further.
A 2.3 mm DP600 cracks at strains that a 3.0 mm CR4 coil takes without a mark. Grade first, thickness second.
Reading the First Ten Metres
The first ten metres of a new coil carry more information than the next two hundred.
Watch the strip as it leaves the coil. A strip that lifts off the coil face and snaps down is being pulled across the face, and the payoff angle is wrong.
Listen at the entry rolls. A tick that repeats once per coil revolution is a burr passing the roll. A tick that repeats at a fixed distance is a mill defect.
Measure the first three parts and then the tenth. A feed length that drifts in the first ten metres is a tension problem, not a feed problem.
Six settings on a 3-in-1 decoiler straightener feeder decide whether a marginal coil survives, and the strain each one adds is part of the wider budget in that guide.

Putting the Sequence on the Changeover Card
A checklist only works if it fits on the card the operator already carries, in the order the job happens.
- Before loading: coil face, both edges, weld position, bore ovality.
- At loading: mandrel expanded to nominal bore, snubber set to just touch, payoff angle tangential.
- At first thread: entry gap open by thickness plus 0.2 mm, back tension under 10 percent of yield.
- At run: 3-second ramp, weld marked and slowed, first ten metres watched by a person rather than a camera.
Print it at the machine, not in a binder. The checks that fail are the ones nobody can find at 6 a.m.
Our own lines ship with a commissioning sequence that includes these four stages, and the plants that keep it on the card report fewer entry breaks than the ones that file it.
Base and pass line dimensions by frame size appear in our straightener data library.
Does a 0.05 mm burr make a slit edge start to crack?
Above 0.05 mm on a 600 MPa grade at a 250 mm bend radius. On CR4 the same burr usually survives, which is why the fault appears only after a grade change.
How much back tension is safe on a 2.3 mm HSLA coil?
Under 10 percent of yield, so roughly 40 MPa on a 420 MPa grade. At 90 MPa the entry bend cracks within the first coil.
Does slowing the line stop 30 percent of weld breaks?
It helps for about 30 percent of weld failures. A joint without post-weld anneal loses up to half its elongation, and no ramp rate recovers that.
How many parts are lost when a break reaches the die?
Around 340 on a 12 mm pitch, plus 40 minutes of restart. If a fragment reaches the punch, add a die sharpening and two days of repair.
Where to go next
Entry breaks are the visible end of a strain budget that runs from the coil to the die, and the settings above only control part of it.
The coil line guide library takes that budget apart step by step, and prices what each reduction costs.