What Happens at the Coil End on an NC Straightener Feeder?
- Share
- publisher
- David Park - Senior Stamping Engineer, FANTY Machinery
- Issue Time
- Sep 26,2026
Summary
A flatness complaint that came back three times was finally traced to the last 60 metres of every coil. This follows the investigation through four measurements, the two settings that fixed most of it.
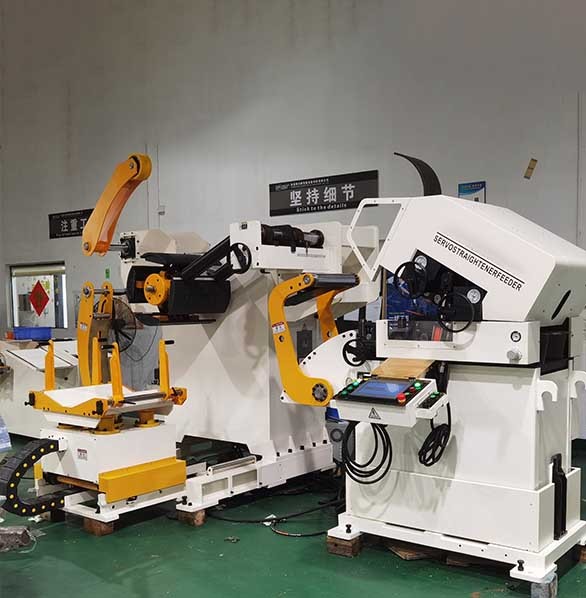
Flatness held for the first 80 per cent of every coil and drifted in the last 60 metres. Three shipments were rejected before anyone measured where on the coil the defect started.
This is the case of a 1.4 mm SPHC job on a 3-in-1 line, the four things that change as a coil unwinds toward its tail, and which of them an NC straightener feeder can compensate for.
Two of the four causes were settings. One was material. One could not be tuned out at all, and that was the finding the customer found hardest to accept.
The geometry behind flatness along the whole coil is set out in the 3-in-1 decoiler straightener feeder guide, together with the roll-count and penetration rules. The machine range is listed under our machines.
The Complaint Came Back Three Times
The complaint was an edge wave on the left side, roughly 12 mm pitch, appearing on about one panel in five.
On the first visit the roll gap was reset and the sample passed. On the second, penetration was raised and the sample passed again.
On the third visit the operator mentioned something nobody had asked about. The wave only appeared near the end of a coil.
That single detail changed the whole investigation. The defect was not random, and it was not a setting error in the ordinary sense.
It was a working condition that the standard setup procedure never covered, because the setup procedure is written around the middle of a coil.
What made the case instructive was not the defect. It was how long the standard checks kept the investigation pointing at the machine.
Roll gap, penetration and roll condition were all checked and all within limits, so the head was cleared three times before anyone questioned the coil itself.
What Actually Changes at the Tail of the Coil
Four conditions change as a coil unwinds, and they arrive together, which is why the symptom looks like one fault.
- Coil set relaxes. The inner wraps were wound at higher mill tension, so the strip that arrives last carries more residual curvature than the strip that arrived first.
- Back tension drifts. As the coil empties, the brake acts on a smaller radius, so the same brake pressure produces less tension and the strip relaxes into the head.
- Entry geometry changes. Coil outer diameter falls from about 1,250 to 700 mm, which alters the angle at which the strip meets the first roll.
- Strip temperature falls. A coil that has sat in a cold bay all night is stiffer at the tail than at the head, which changes how much penetration it needs.
Three of those four are recoverable with a different recipe. The first one, coil set, is only recoverable if the head has penetration left to give.
Read the four together and the reason becomes clear. The setup procedure is written for the middle of a coil, where none of these four conditions is at its extreme.
At the head of a coil, set is low, tension is easy to hold and the entry angle is stable. At the tail, all three have moved the wrong way at once.
None of the four is large on its own. Together, at the tail of a 6 tonne coil, they are enough to move a flatness reading from 1 mm to 6 mm.
The Measurements That Separated the Causes
Four measurements told the story, and the order they were taken in mattered as much as the numbers.
| Measurement | What it showed | Which cause it confirmed | Where it misleads |
|---|---|---|---|
| Strip flatness before the head, head versus tail of coil | Bow grew by 4 mm per metre at the tail | Coil set arriving from the mill | Entry guides mask it until the strip relaxes |
| Flatness after the head, head versus tail | Wave grew from 1 mm to 6 mm | Penetration short at the tail | A single sample sheet hides the trend entirely |
| Head motor current during straightening | Rose 9 per cent at the tail | Higher resistance from coil set | Cold strip raises current with no change in shape |
| Mandrel brake pressure log | Fell 15 per cent as diameter dropped | Back tension loss | A drifting sensor reads as a control fault |
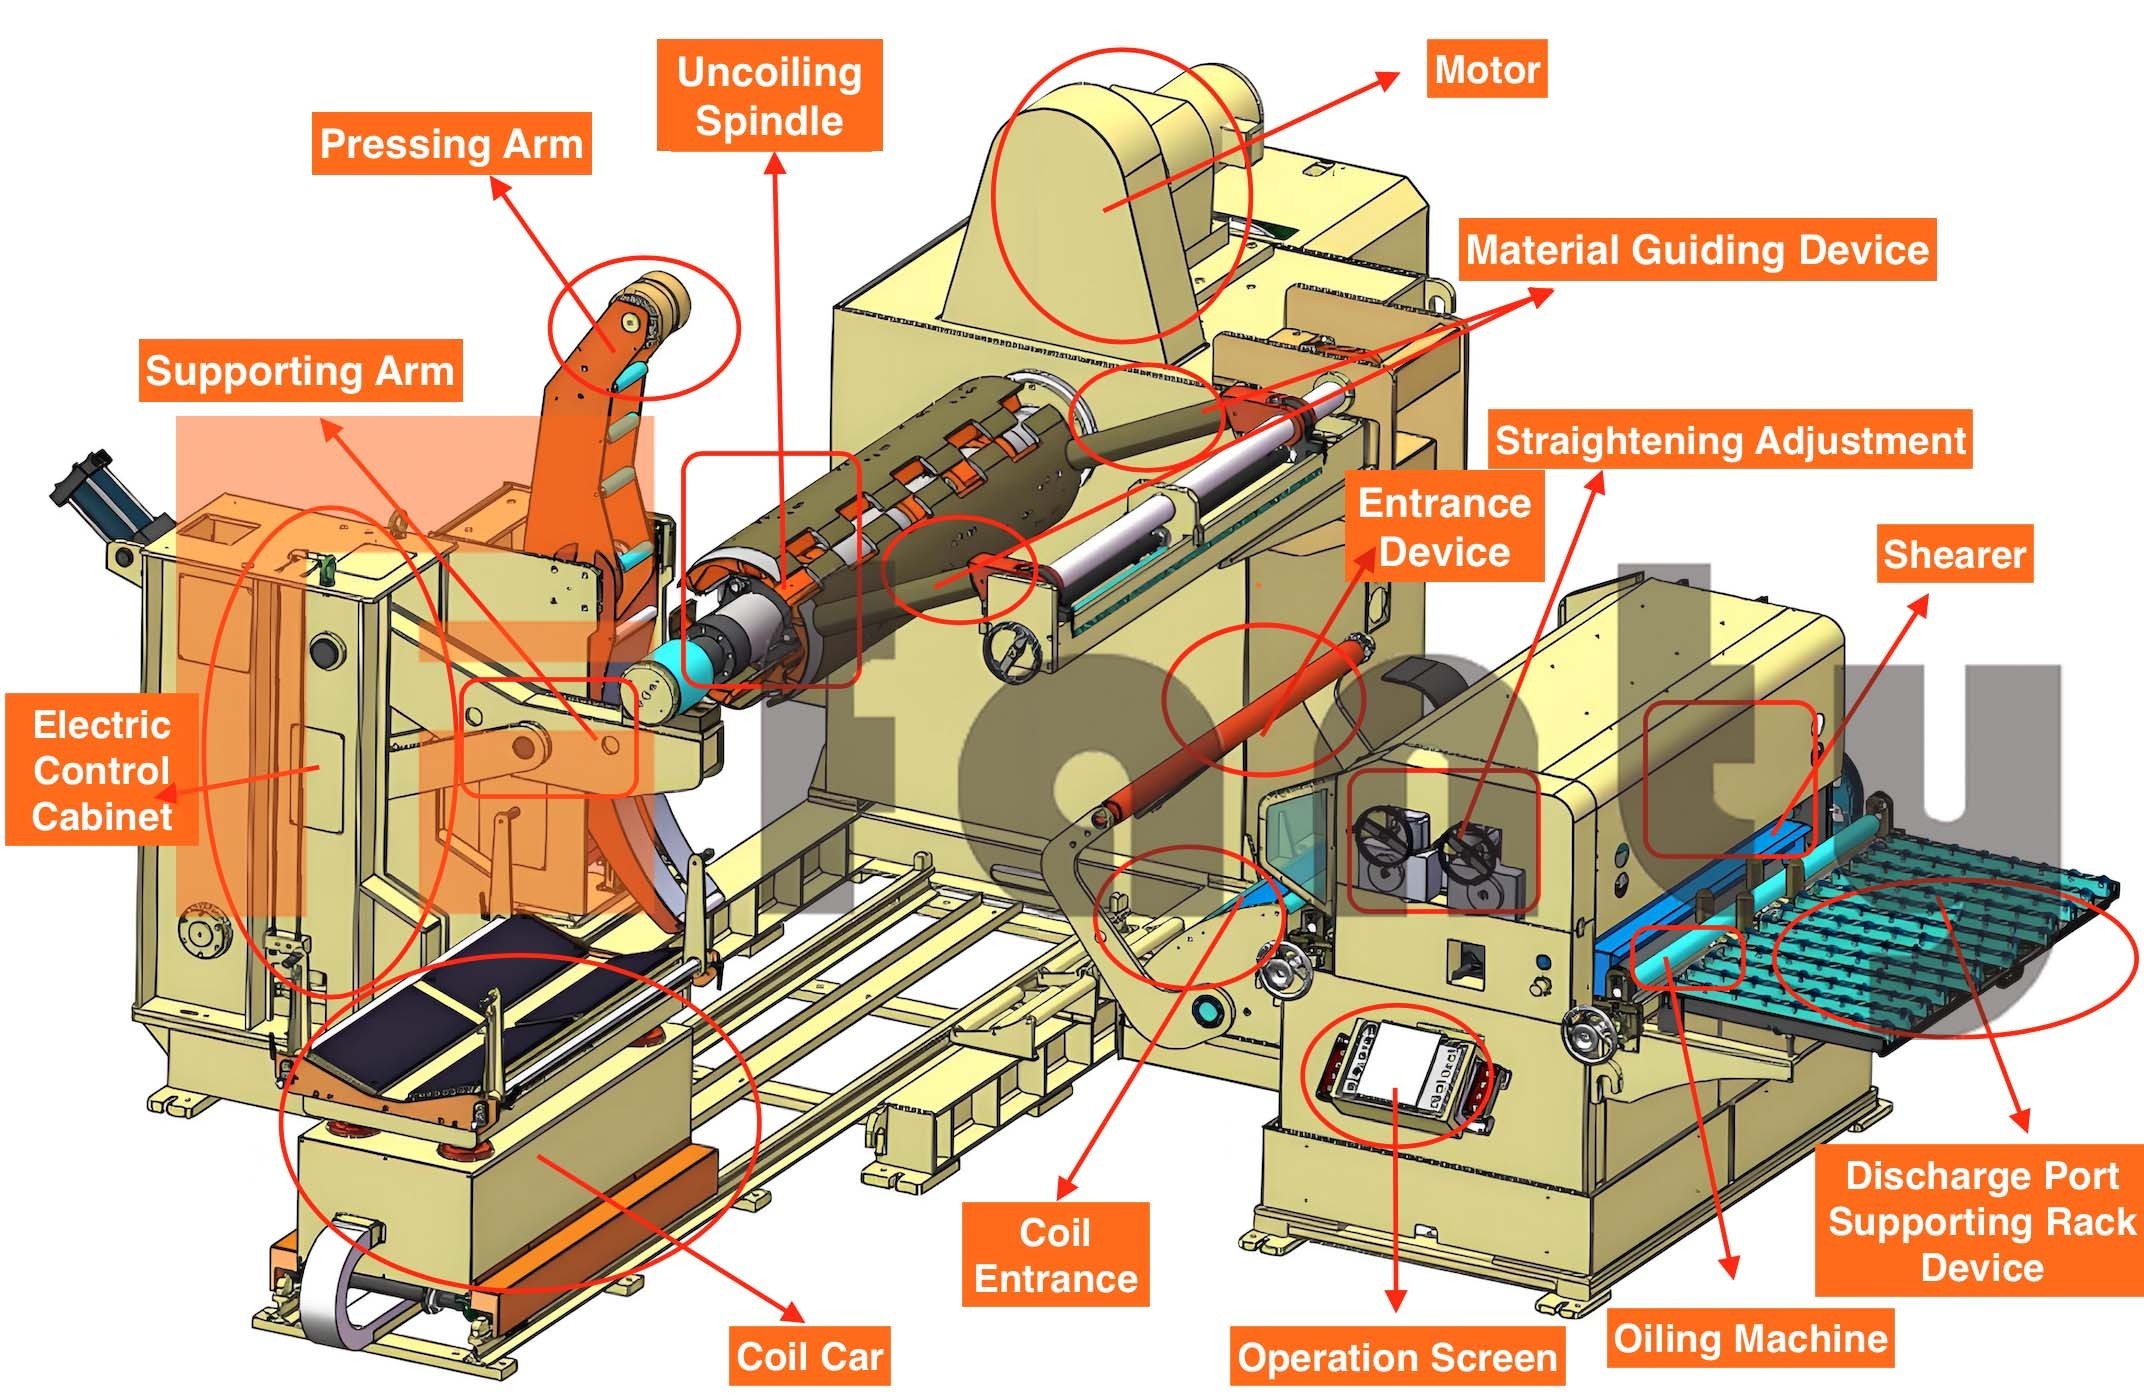
The flatness-before-head reading was the decisive one. It proved the defect existed before the strip reached the rolls, which no amount of penetration setting could correct.
The order the measurements were taken in also mattered. Measuring after the head first would have shown a wave and pointed at penetration, which is exactly what happened on the first two visits.
What We Changed, and What It Cost
Two changes fixed most of the tail defect, and neither required a new machine.
The first was a second recipe. The line now stores a head recipe and a tail recipe, switched when coil diameter falls below about 750 mm.
The tail recipe adds two steps of penetration and raises the brake pressure by 12 per cent to hold tension as the radius shrinks.
The second change was simpler. Coils are now staged in the bay for at least six hours before running, so the whole coil reaches a stable temperature and the tail is no longer stiffer than the head.
Both changes together took about a day of engineering time and a printed card at the control. There was no hardware cost, which is why they were easy to justify once the trend was visible.
The recipe switch point was set at 750 mm outer diameter after two trials. Setting it higher caught the defect earlier but ran the tail recipe on strip that did not need it.
That trade-off is worth naming. A tail recipe applied too early costs a little flatness on strip that was already good, so the switch point has to be tuned rather than guessed.
What Could Not Be Fixed by Settings
The fourth cause could not be tuned out, and saying so early would have saved two of the three visits.
The inner wraps of that coil were wound at higher mill tension, and the resulting set exceeded what a five-roll head could flatten at 1.4 mm.
No penetration setting recovers flatness that the geometry cannot reach. Past a certain point, extra penetration bends the strip the other way and makes the wave worse, not better.
Two answers were open. Change the material source so the coils arrive with less set, or accept a slightly looser flatness call on the last 40 metres of each coil.
Both are commercial decisions rather than engineering ones, and neither is a reason to change the machine.
One further limit is worth stating. A tail recipe cannot recover flatness on a head that is already at its penetration ceiling on the middle of the coil.
Where the head is working at its ceiling throughout the coil, the tail problem is a symptom of an undersized machine rather than a setup issue.
Keeping the Tail in Spec
Four habits keep this class of defect from returning, and all four are cheap.
Sample at the tail, not the head. A flatness check on the first two metres of a coil proves the easiest part of the job and hides the hardest.
Log brake pressure against coil diameter. A falling pressure curve is the earliest sign that tension control is losing its grip on the strip.
Ask the mill for the winding tension of each coil. Where it varies between suppliers, flatness at the tail will vary with it.
Where several coil suppliers are used, keep a note of which ones arrive with more set. Over a year, that note is more useful than any single flatness measurement.
Keep the head recipe and tail recipe separate, and review both whenever a new coil source is introduced. On a line running 200 SPM, a tail defect that survives to the die costs more than the recipe change ever will.
Questions that come up once a tail defect has been traced.
How much of a coil is affected by tail set?
Typically the last 5 to 10 per cent. On a 6 tonne coil that is the final 30 to 60 metres, which is often one full panel per coil.
Does a seven-roll head fix tail flatness?
Only if roll diameter is adequate. Extra rolls at small diameter add marks without adding flattening, and they do not raise the penetration ceiling.
How much does a tail recipe cost to add?
Engineering time only, usually under a day. There is no hardware cost on a line that already stores recipes per material.
At what coil diameter does back tension become hard to control?
Below roughly 700 mm outer diameter on a standard brake. That is where a fixed brake pressure starts producing noticeably less tension.
Can tail flatness be corrected on the decoiler instead?
Partly. Better tension control reduces how much set reaches the head, but it cannot remove set that is already wound into the coil.
Where to go next
This article traces one working condition on a flatness job. The roll-count, pitch, gap and penetration rules that govern flatness along the whole coil are set out in the guide library.
our coil line knowledge base